How to Pack a Unity Application into a Single Executable
This guide shows how to use BoxedApp Packer to turn a Unity game into one portable EXE. The packed app includes required runtime files and content folders and runs without installation. BoxedApp Packer does not extract embedded files to disk.
Step 1. Create and build a sample project
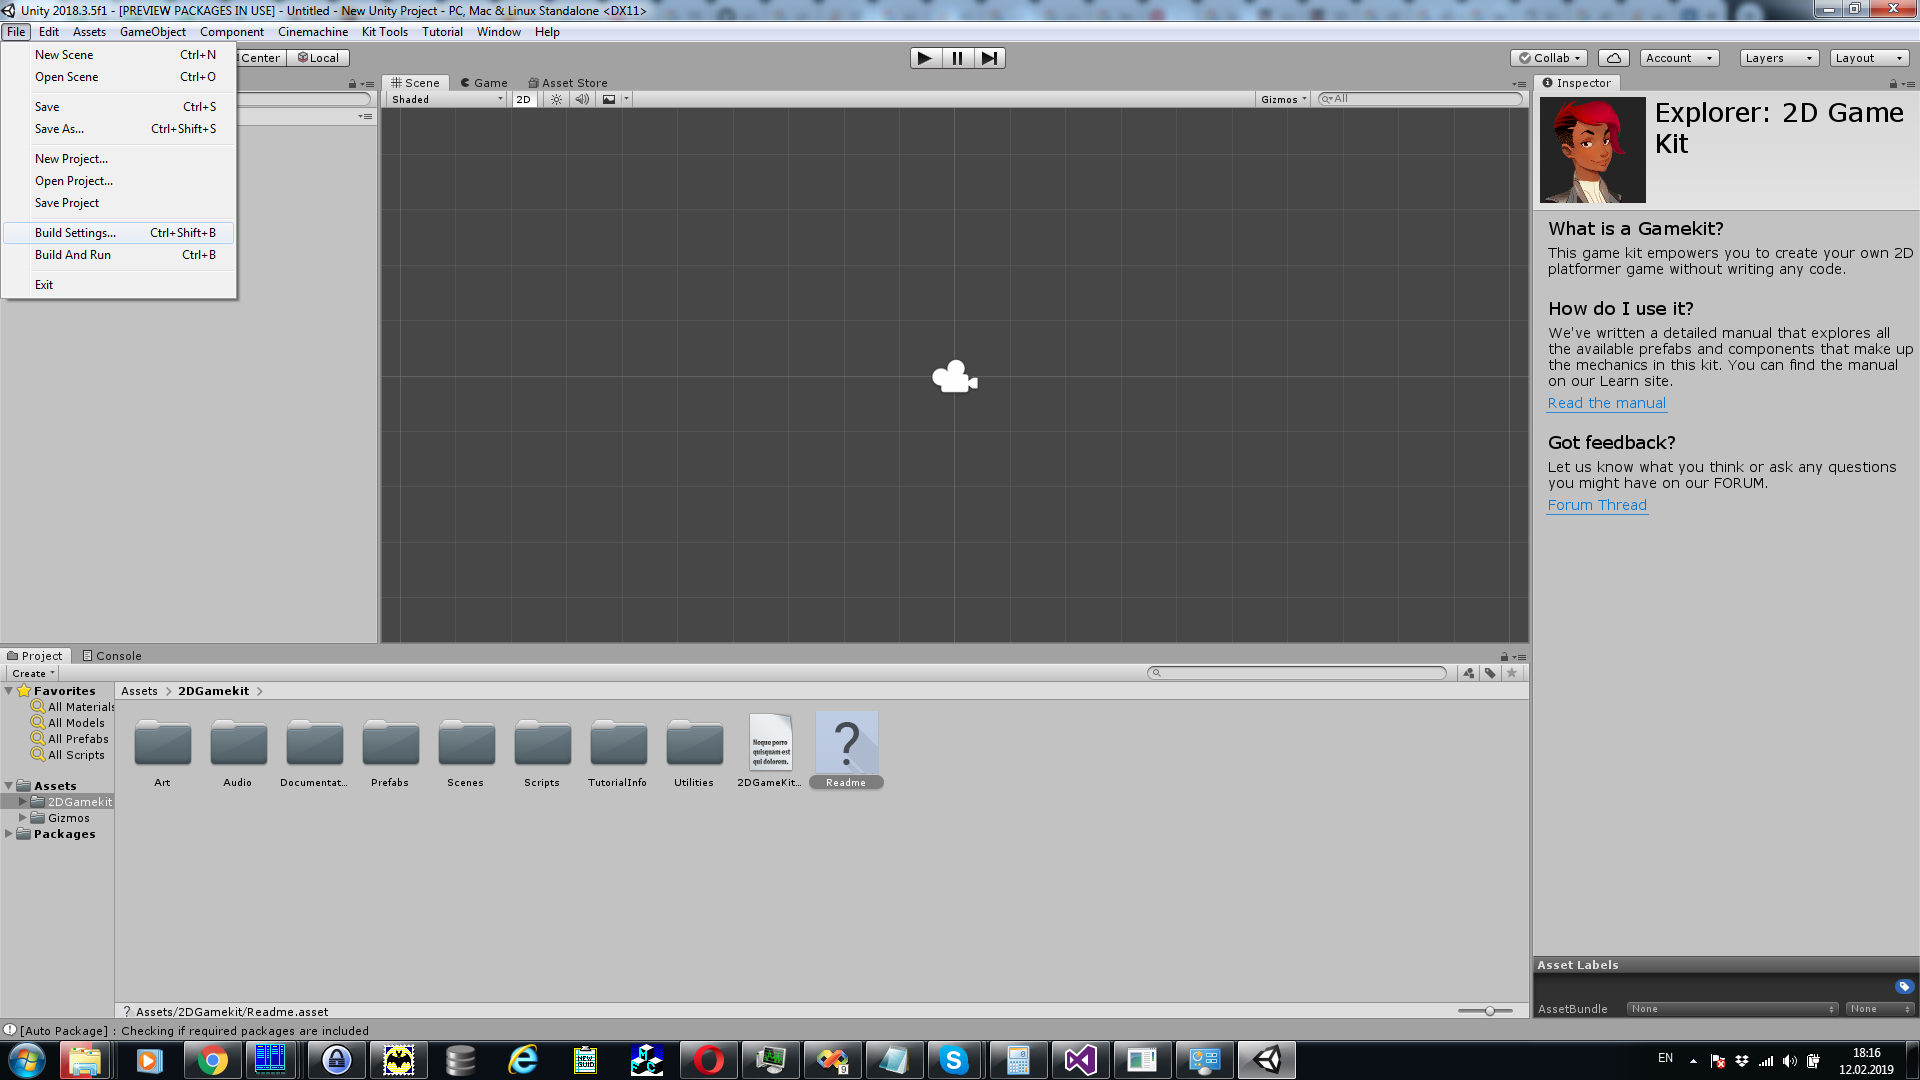
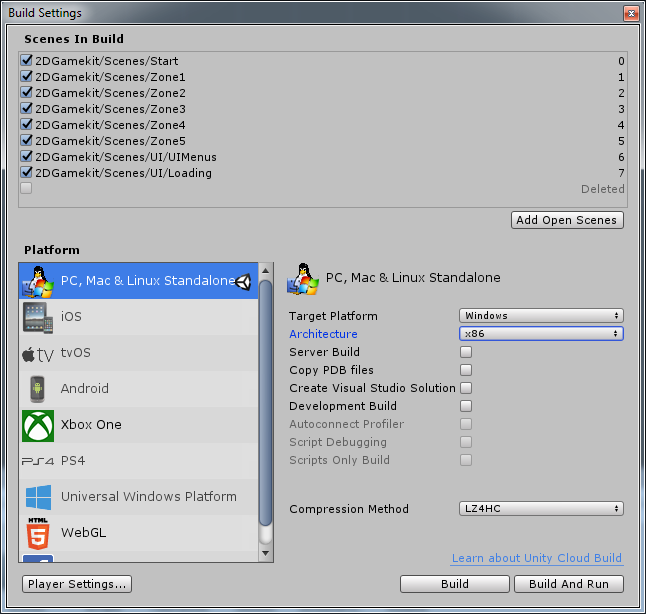
In Unity Hub, install a sample like 2D Game Kit and open it in the editor. Use File - Build Settings and build for Windows. Unity will produce an EXE plus a set of files and folders.


Step 2. Inspect the build output
A typical Windows build contains the game EXE, UnityPlayer.dll, UnityCrashHandler32.exe or 64-bit variant, and a Data folder plus Mono.

Step 3. Add files in BoxedApp Packer
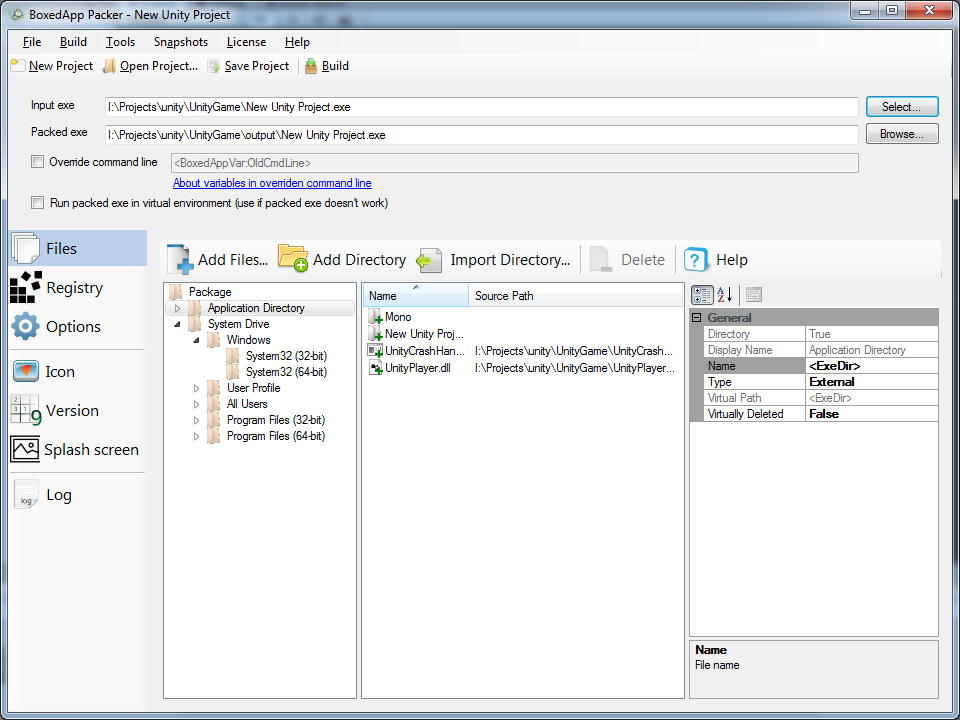
Start BoxedApp Packer. Select the built EXE as the input. In Files, choose Application Directory and add:
UnityPlayer.dllUnityCrashHandler32.exeorUnityCrashHandler64.exeNew Unity Project_DatadirectoryMonodirectory

Step 4. Build and run the packed EXE
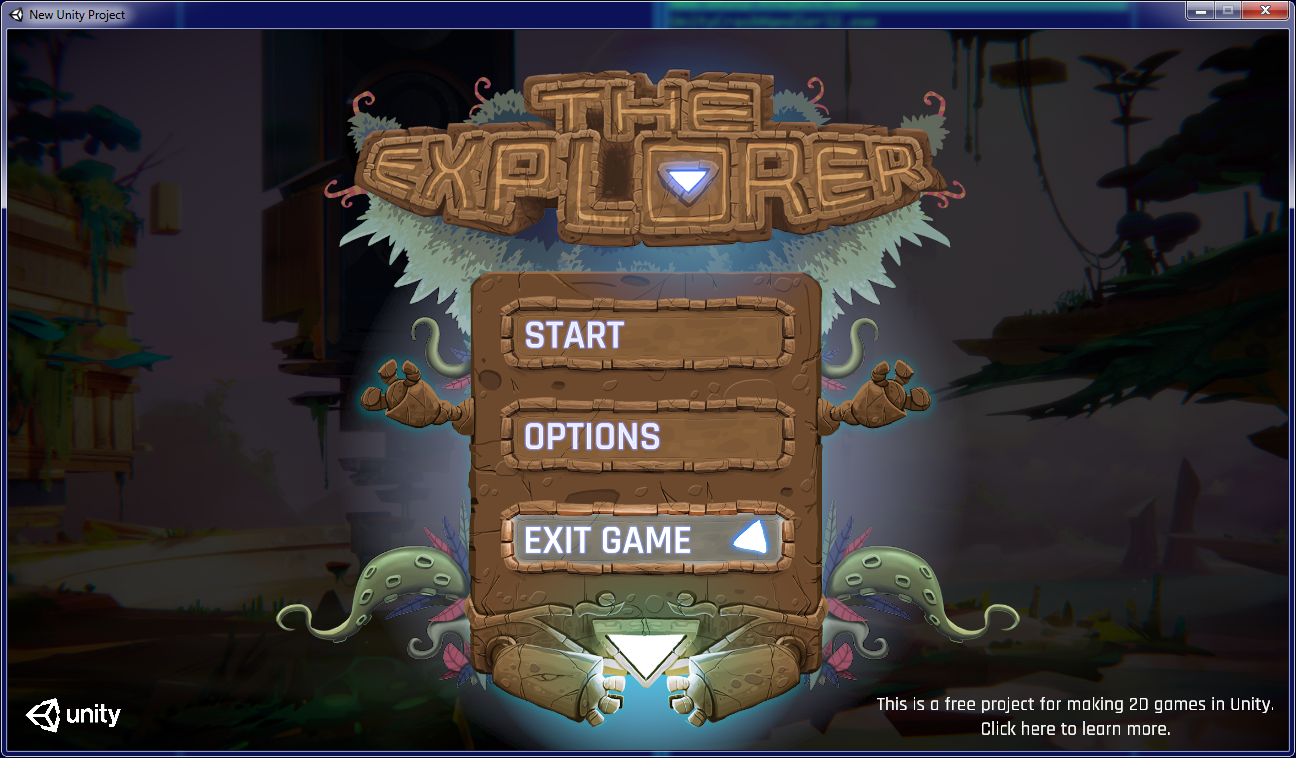
Click Build to generate a single executable. The packed Unity game runs from any folder, network share, or removable drive and does not write embedded files to disk.
Notes
- Match 32-bit or 64-bit output in Unity to the target you plan to ship.
- If you use IL2CPP, include all produced runtime files the app needs.
- To reduce size, strip editor-only assets and unneeded locales before packing.